Smart Art is not only offered in Excel, but other Microsoft Office programs, so you can use this tutorial for Word Smart Art and PowerPoint Smart Art as well.
To Insert Smart Art, follow these steps:
1. Select the Insert tab from the Ribbon.
2. Select SmartArt.

3. In the Choose a SmartArt Graphic dialog box, select the category on the left. Then you select the item in the middle. The right shows a preview of the item. Select OK to insert the content.

Excel inserts the selected SmartArt graphic in the middle of the spreadsheet.

Picture handles appear around the graphic when you select a SmartArt graphic. These handles help when resizing the graphic manually. Make sure these handles are present when you need to move a graphic. If you make changes that you don’t want, you can reset the object to the original graphic.
Now, simply click on one of the boxes and type in your text, if desired. Notice that the font sizes adjust, depending on how much text you enter.
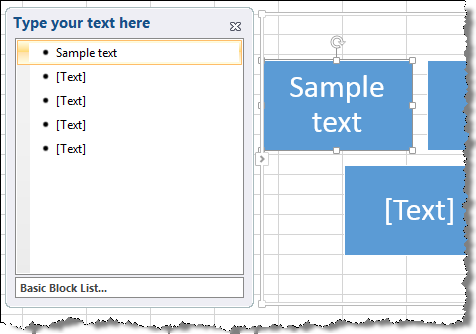
1. To the left of the SmartArt graphic you inserted, there is a small rectangle with an arrow. Click this arrow to open the Text Pane.

Excel opens the Text Pane.

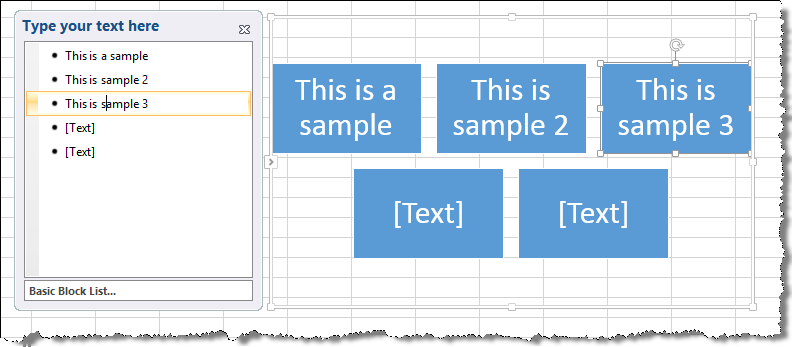
2. Click on the first line and begin typing. Each line represents a new item in the graphic.

The SmartArt text adjusts to fit the graphic. The more text you enter in each graphic element, the smaller the text will become.
3. When you have finished, click anywhere on the spreadsheet, and the Text Pane will close automatically. Or you can click the X in the top right corner.
To resize a SmartArt graphic, do the following.
1. Click on the SmartArt graphic to select it. Notice the border around the graphic.

2. Select one of the corners and drag the picture. Notice the cursor changes to a diagonal line with arrows at both ends. You can make it smaller or bigger, depending on which direction you drag.
3. Release the mouse when the graphic is the desired size. Notice that Excel may rearrange the graphic elements for the best look and fit.
To move the Smart Art, do the following.
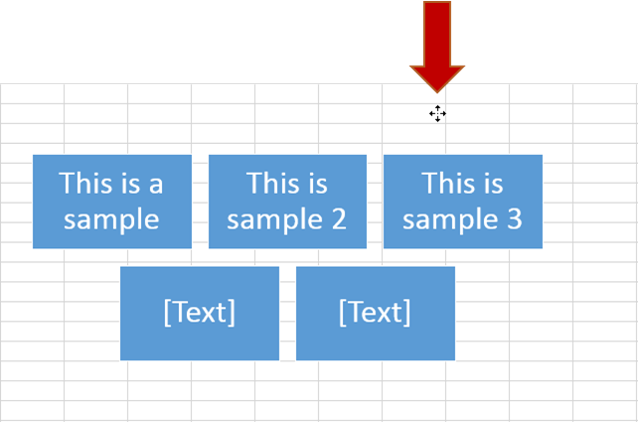
1. Select the diagram border.
The cursor changes to a cross with four arrows.

2. Drag the mouse to move the diagram. Release the mouse when the diagram is in the desired location.
Note: You can move the individual parts of the SmartArt diagram using the same procedure. Just click on the individual object you want to move. Practice this and you can create some really unique diagrams.
Reset the Smart Art:
Resetting the diagram allows you to quickly return the graphic to the original alignment and spacing between elements. Use the following procedure to reset a diagram.
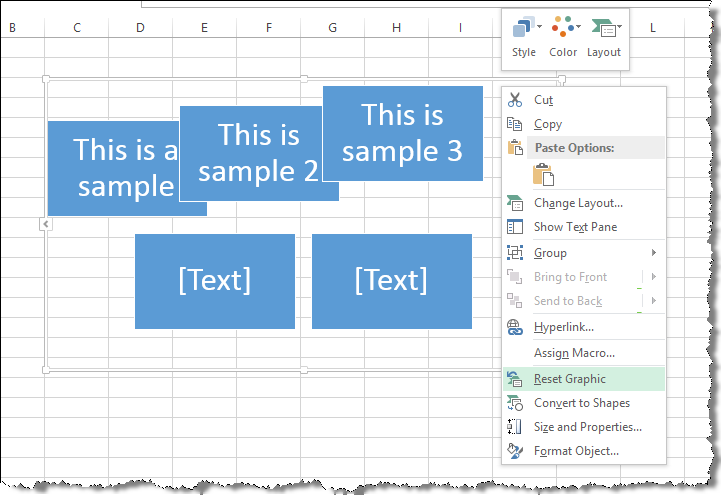
1. Right-click on the diagram.
2. Select Reset Graphic from the context menu.

It really is simple to use Smart Art in Excel, or any other Office program. However, if you truly learn the ins and outs of it, you can make some spectacular and unique images.
Keep it simple, but make it fantastic!
- Debbie


留言